How to Solve the Chapter 5 and Minotaur Puzzles in Resonance: A Plague Tale Legacy
Master the Labyrinth with exact solutions for the Chapter 5 Spike Platforms, Colored Mirrors, and the two-stage Minotaur puzzle, plus PC optimization tips.
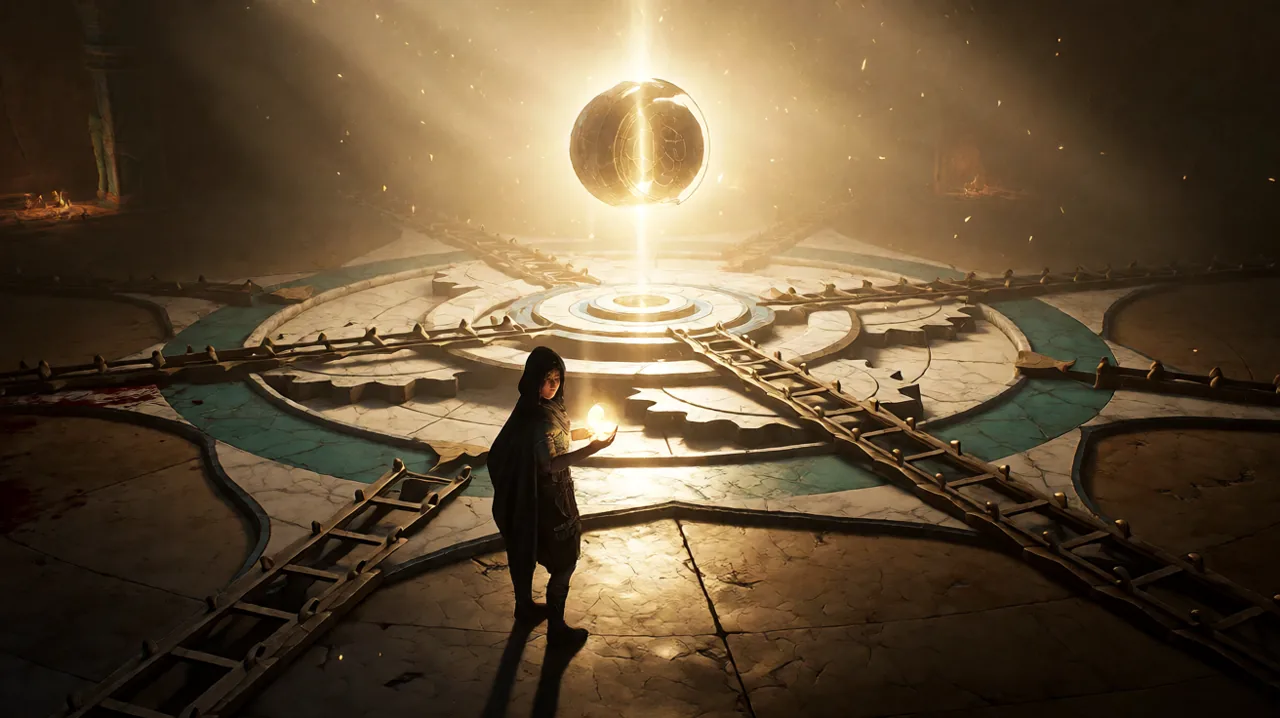
After surviving the sun-drenched surface ruins and the intense chases of the opening hours, Chapter 5 of Resonance: A Plague Tale Legacy drastically shifts the pacing. Sophia finds herself entirely cut off from the surface, navigating the claustrophobic and damp underground architecture of the Knossos Labyrinth on the island of Crete. Where earlier encounters relied heavily on your mastery of the new combat and parry systems or utilizing verticality, the subterranean environment demands a sharp intellect and careful observation.
You are now in the domain of the ancients, surrounded by the remnants of a civilization that tried—and ultimately failed—to contain the early manifestations of the Prima Macula. The core of your progression here relies on the Minoan light orb and the dual-timeline “Resonance” mechanic. As you navigate these ancient halls, you will frequently need to shift your perspective back to antiquity to see how these rooms operated before decay and destruction set in. The sequence of environmental challenges in Chapter 5 represents a significant difficulty spike compared to Chapter 3 and 4, throwing lethal traps and complex optical mechanics your way.
Navigating the Spike Platform Trap
The first major roadblock in Chapter 5 is the Spike Platform room. Unlike the relatively forgiving stealth and survival mechanics where you can slip away into the shadows if spotted by guards, one wrong step here results in Sophia instantly taking lethal damage from spring-loaded floor spikes.
When you enter the chamber, you will see a wide chasm filled with a grid of pressure-sensitive tiles. Each tile is inscribed with a specific Minoan symbol. To cross safely, you must step only on the correct tiles in a highly specific sequence. The key to surviving this trap is careful observation and reliance on Sophia’s journal.
Before stepping onto the grid, activate your Resonance ability and look at the walls near the entrance. You will see faint, ghostly echoes of how the room looked centuries ago in the year 1334, which will automatically prompt Sophia to sketch the correct sequence into her journal. The clues point to a distinct five-step path matching the worn symbols on the floor.
If you prefer to bypass the investigation phase, the exact route requires moving from left to right across the columns. The safe sequence is:
- Step 1: Dot (Column 1)
- Step 2: Kraken (Column 2)
- Step 3: Dot (Column 3)
- Step 4: Flower (Column 4)
- Step 5: Kraken (Column 5)
Make sure you align Sophia perfectly before executing a jump or a step forward. The movement physics carry a slight momentum, and carelessly nudging the analog stick can cause her to clip the edge of an incorrect tile, triggering the trap immediately and forcing a checkpoint restart.
Aligning the Colored Mirrors
Immediately following the spike trap, the architecture opens up into a circular chamber dominated by a massive central pillar and several heavy, rotatable mirrors. As part of the core light puzzles fundamentals, the objective is to direct three distinct light beams—red, green, and blue—toward their corresponding crystalline receivers on the central pillar.
However, you cannot simply rotate the mirrors into position right away. Several calcified, petrified figures block the paths of the light beams. These grim statues are heavily implied to be ancient victims of the Prima Macula, frozen in agony centuries before the rat plagues seen in the French countryside during Amicia and Hugo’s era.
Before touching the mirrors, equip your stolen Minoan light orb. You need to focus the intense, concentrated beam of the orb directly onto these petrified figures. Sustaining the light on them for a few seconds will cause the calcified shells to crumble into dust, safely clearing the lines of sight.
Once the obstructions are gone, begin with the blue beam, which is the most straightforward. Rotate the first mirror slightly to the right to bounce the blue light directly onto the lower receiver of the pillar. The red and green beams require a bit more geometry. The red beam must be bounced off a secondary, stationary wall mirror before it can hit the middle receiver. Finally, the green beam requires you to move a sliding mirror along a floor track to catch the light from the back of the room and angle it to the top receiver. Be cautious while moving the heavy mirrors, as the noise can occasionally draw attention, requiring you to quickly establish a defensive posture.
The Dual-Stage Minotaur Chamber
The climax of the Chapter 5 ruins is the Minotaur chamber, easily one of the most elaborate set pieces Asobo Studio has designed for the series thus far. A colossal bronze statue of the Minotaur dominates the far wall, its hands resting on two massive chain mechanisms that control the exit doors.
Instead of a straightforward solution, this room demands environmental investigation. Spend the first few minutes roaming the lower platform. You will find various symbols etched into the floor beneath centuries of dirt. Interact with them so Sophia can record them in her journal.
The puzzle is divided into two distinct stages. The goal is to use the room’s central light projector to illuminate specific pairs of symbols simultaneously, matching the clues found in your journal and through the Resonance timeline view.
For the first stage, you must direct the light to hit the Crescent and the Serpent symbols at the same time. You achieve this by positioning a splitting prism in front of the main projector. Once aligned correctly, the ancient mechanisms will grind, and the Minotaur’s left hand will slowly rise, pulling the first chain taut.
The second stage raises the tension. After the left hand rises, a brief tremor shakes the room, awakening “The Presence”—the lethal, stealth-focused threat that stalks the island alongside the traditional rat swarms. You must now navigate the room quietly, avoiding its patrol routes while repositioning the prisms. For the final alignment, direct the split beams to hit the Sun and the Bull symbols.
Once both the left and right hands are raised, the massive bronze doors will unlatch, securing your escape from the chamber and marking the end of the puzzle sequence. This triumph pushes Sophia closer to the terrifying truths waiting deeper within the ruins.
Maintaining Frame Rates During Light Puzzles
The visual fidelity of the subterranean ruins is stunning, but the heavy use of volumetric lighting, reflections, and dynamic shadows during these puzzles can cause noticeable frame rate dips on PC.
Recent technical analysis from Digital Foundry highlights that Resonance: A Plague Tale Legacy features excellent scalability, but the Colored Mirrors and Minotaur chambers push rendering engines hard due to the overlapping light sources. If you are experiencing stuttering when manipulating the Minoan light orb or aligning the mirror beams, check your upscaling settings.
Digital Foundry notes that relying on the game’s implementation of TAAu provides superior image stability and consistency compared to FSR2 or FSR3 in these specific environments. While FSR might offer a higher peak frame rate in the outdoor coastal areas of Crete, the intersecting colored light beams in Chapter 5 tend to cause visual artifacting and ghosting with standard upscalers. Switching to TAAu or DLSS (if you have a compatible NVIDIA card) ensures that the intricate symbols on the floor and the subtle visual clues in the Resonance timeline remain crisp and readable, preventing unnecessary frustration during your puzzle-solving efforts.